PRTG Manual: Manage a PRTG Hosted Monitor Subscription
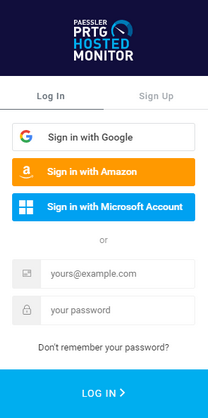
PRTG Hosted Monitor offers subscription plans that you can tailor to your needs and that you can manage via the PRTG Hosted Monitor Customer Portal. To manage your subscription, open one of the supported browsers, go to the PRTG Hosted Monitor Customer Portal, and log in.
Provide the credentials that you entered when you signed up, the code that is shown, and click Log In, or use single sign-on (SSO) and continue with your Google, Amazon, or Microsoft account via the respective button.
In this section:
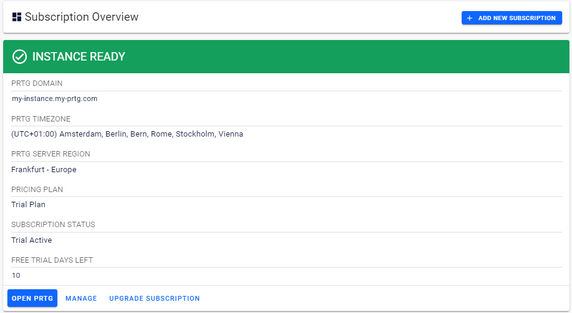
Here you see an overview of your PRTG Hosted Monitor subscription. Click Add New Subscription to upgrade to a commercial subscription, for example. Click Open PRTG to open your PRTG Hosted Monitor instance in the PRTG web interface. Or click Manage to manage your subscription.
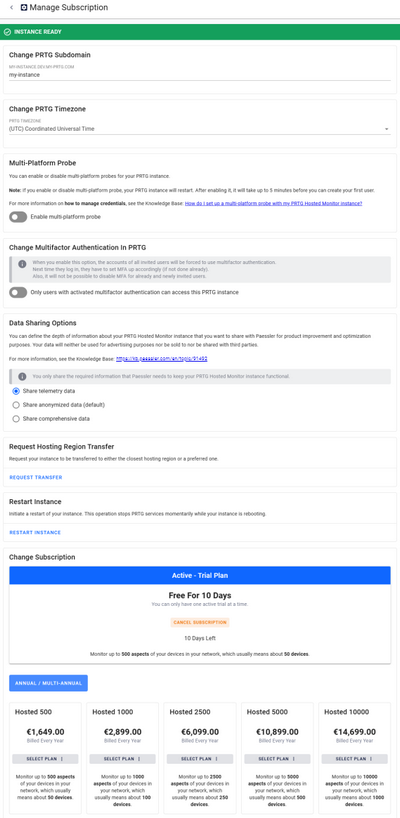
Here you can change your subdomain. The domain name can be anywhere from 4 to 60 characters long.
- Enter a new domain name such as myfirstdomain. If you enter myfirstdomain as the domain name, for example, your PRTG Hosted Monitor instance is reachable under myfirstdomain.my-prtg.com.
If you have remote probes, you must manually change the domain name for the PRTG core server. This corresponds to the Server (IPv4 Address or DNS Name) setting in the PRTG Administration Tool.
- Click Got It to continue. You can see the progress in the status bar.
This can take a few minutes.
When the change is complete, the PRTG Hosted Monitor instance is ready.
Here you can change the time zone.
Select a time zone from the dropdown list. You see the following message.
Change Multifactor Authentication in PRTG
To enable multifactor authentication for all users of your PRTG Hosted Monitor instance, click ![]() .
.
After you enable this option, multifactor authentication is activated for all users of your PRTG Hosted Monitor instance and they are asked to scan a QR code with a Time-based One-time Password algorithm (TOTP) application and to enter the current one-time password (OTP) to finish the setup. For more information, see the Knowledge Base: Can I enable multifactor authentication for my PRTG Hosted Monitor instance?
Microsoft Entra ID Integration
To use Microsoft Entra ID as a single sign-on (SSO) provider for PRTG Hosted Monitor, log in to the Azure Portal. After Microsoft Entra ID is integrated into PRTG Hosted Monitor, you can also invite other users from your Active Directory (AD) into PRTG Hosted Monitor.
For more information on how to integrate Microsoft Entra ID into PRTG Hosted Monitor, see the Knowledge Base: How to integrate Microsoft Entra ID into PRTG Hosted Monitor?.
To enable multi-platform probes for all users of your PRTG Hosted Monitor instance, click ![]() .
.
You have the following options:
Setting |
Description |
|---|---|
Manage credentials |
Add users to use with the NATS server. You can use any user credentials that you add here to create multi-platform probes.
|
More actions | Download certificate |
Download the Transport Layer Security (TLS) certificate used with the NATS server that Paessler configures for your PRTG Hosted Monitor instance. |
More actions | Open multi-platform probe manual |
Open the Multi-Platform Probe for PRTG manual. |
To define the depth of information that you want to share with Paessler for product improvement and optimization purposes, you can choose among the given options.
To request a transfer of your hosting region on your PRTG Hosted Monitor instance, click Request Transfer.
To restart your PRTG Hosted Monitor instance, click Restart.
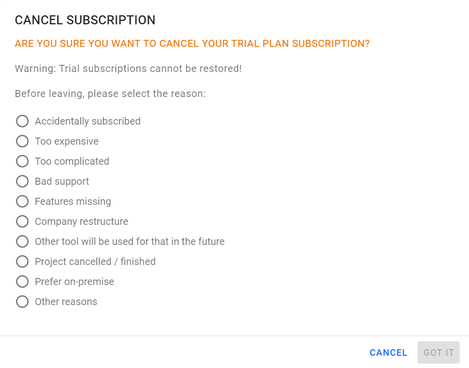
- Click Cancel Subscription to cancel your PRTG Hosted Monitor subscription.
- Click Got It to finalize the cancellation. You see the following message.
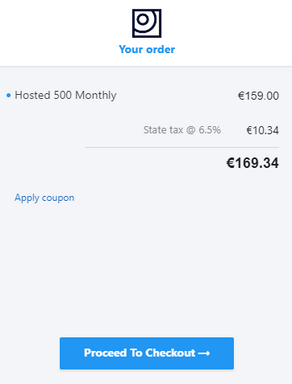
- Click Change Subscription to select a new PRTG Hosted Monitor subscription and to open the payment checkout dialog. You see an overview of your order.
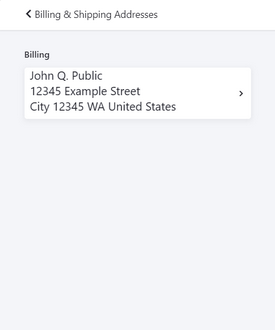
- Click Proceed To Checkout and follow the steps to enter your name, billing address, and credit card information if you did not do so during the creation of your PRTG Hosted Monitor instance.
Click your account in the upper-right corner of the PRTG Hosted Monitor Customer Portal to open your account settings. Here you can view your profile, change your password, or enable or disable multifactor authentication.
For more information, see section Use Multifactor Authentication with PRTG Hosted Monitor.
You can invite and assign roles to new users on your PRTG Hosted Monitor instance. For more information, see the PRTG Manual: Add User Accounts and the Knowledge Base: How can I allow other users to manage my PRTG Hosted Monitor instance?.
- Click Reset Password to change the password for your PRTG Hosted Monitor account. PRTG then notifies you that an email has been sent to your inbox.
- Go to your inbox and open the email. Click Change Password to go to the change password screen.
- Enter your new password, then enter it again to confirm it.
- Click Edit Billing Details to change your billing address.
- Select the billing address that you want to change.
- Enter the new information and select Update to change it.
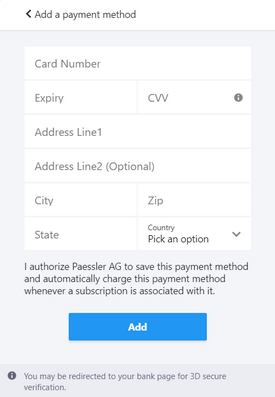
When you purchase a PRTG Hosted Monitor subscription, you need your payment information.
- Enter your payment details and billing details here to save them for later use or edit details you already entered.
- Click Add to add the new payment details.
Here you can view and download all of your invoices.
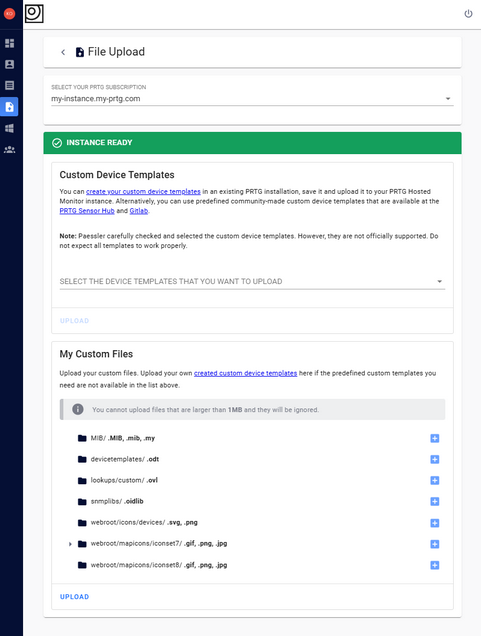
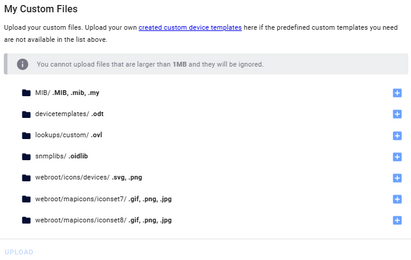
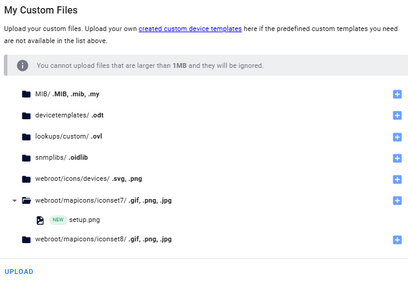
Here you can upload custom device templates and custom files.
- Click Select your PRTG subscription to select the subscription for which you want to upload files.
- Click Select the device templates that you want to upload to select one or more device templates.
- Enable the checkbox next to one or more device template names to select them.
You can also click Readme to open the README.md file of the device template in GitLab.
- Click outside of the dropdown list to continue.
- Click Upload to upload the device templates.
- Click
 next to the type of file that you want to upload and browse for the path to the file in the File Explorer.
- Select the file and click Open.
- Click Upload to upload the custom device template files.
Click Logout in the upper-right corner to log out of your PRTG Hosted Monitor account.
KNOWLEDGE BASE
Can I enable multifactor authentication for my PRTG Hosted Monitor instance?
How to integrate Microsoft Entra ID into PRTG Hosted Monitor?
How do I set up a multi-platform probe with my PRTG Hosted Monitor instance?
