PRTG Manual: Create a PRTG Hosted Monitor Instance
To create a PRTG Hosted Monitor instance, open a web browser and go to the PRTG Hosted Monitor Customer Portal.
We recommend that you use the latest version of Google Chrome.
In this section:
Create a PRTG Hosted Monitor Instance
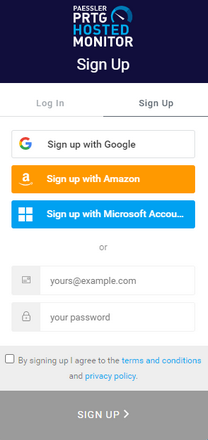
- On the PRTG Hosted Monitor Customer Portal, click Free Trial to create your PRTG Hosted Monitor instance. PRTG Hosted Monitor automatically assigns a domain name to your instance. You can change the domain name at any time.
- You can sign up with your Google, Amazon, or Windows account via single sign-on (SSO) (Auth0). PRTG Hosted Monitor connects to and then automatically uses this account for the login. Click the respective button and follow the instructions. Alternatively, you can sign up via email. Enter a valid Email address and a Password. The password must meet the following requirements:
- At least 8 characters long
- At least one uppercase letter
- At least one lowercase letter
- At least one numeral
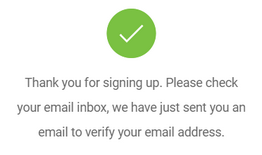
- Make sure that you agree to the terms and conditions and privacy policy. Click Sign Up to register for your PRTG Hosted Monitor instance. You then see that a verification email has been sent to your inbox.
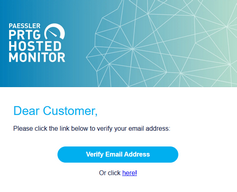
- Go to your inbox and open the email.
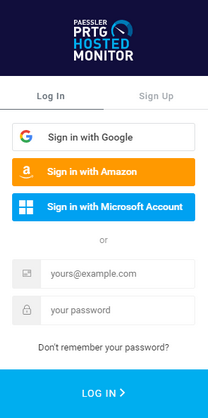
- Enter your credentials and click Log In to log in to PRTG Hosted Monitor.
- Click Add New Subscription.
- Select the region in which PRTG Hosted Monitor hosts your instance.
- Select a subscription plan that fits your requirements and click Checkout.
The billing account will be charged after the free 10-day trial period.
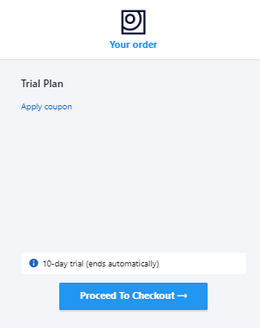
- You see an overview of your order. Click Proceed To Checkout.
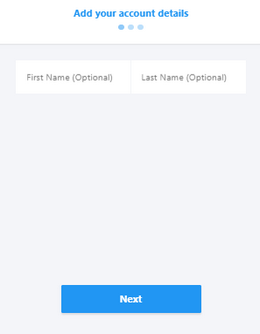
- Optionally enter your first name and last name and click Next.
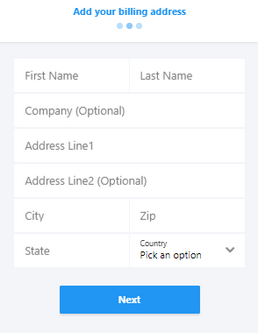
- Enter your billing information. Then click Next
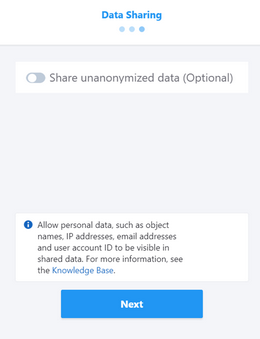
- To enable data sharing, click
 .
.
- Enter your billing information. Then click Next.
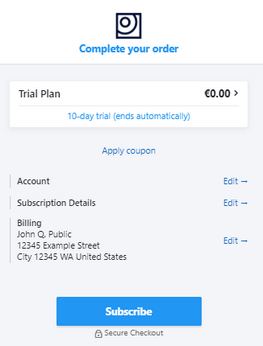
- You see an overview of your account and billing details. Click Subscribe to finish.
- The Subscription Overview page opens and shows the progress of the PRTG Hosted Monitor installation.
- Your PRTG Hosted Monitor instance is now ready. Click Open PRTG to open your PRTG Hosted Monitor instance in the PRTG web interface.
- Enter your credentials on the login screen.
Your PRTG Hosted Monitor instance is now up and running. To open the device tree, click View Results, or click Devices in the main menu bar.
PRTG Hosted Monitor automatically creates a hosted probe that runs on the hosted instance. It shows several health values of the instance and you can instantly monitor all servers, services, and devices that are publicly available via the internet with the hosted probe.
Smart Setup for PRTG Hosted Monitor
A Paessler employee guides you through the smart setup. In particular, you must install a remote probe, which is required for monitoring your LAN. We strongly recommend that you do so.
Click Install Remote Probe to start the installation.
For more information, see section Install a Remote Probe.
For more information about other steps of the smart setup, see section Step 2: Smart Setup for PRTG Network Monitor.

