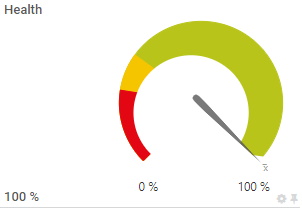
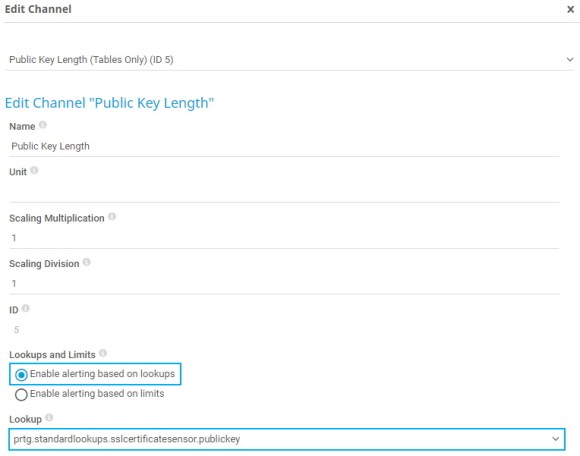
PRTG uses lookups for the channels of some sensors to define the status that a sensor shows, just like sensor limits do.
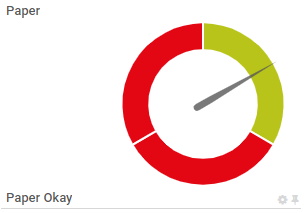
Lookups display object data more human friendly because they map status values that a monitored object returns, usually integers, to more informative expressions in words. If you monitor a printer, for example, that returns the status value ‘0’, the respective sensor can show the Up status with the message Paper Okay instead of only displaying the status value ‘0’.
Get full visibility with real-time dashboards, alerts, and customizable sensors
Lookups are defined in lookup files that use the XML format and that end with .ovl. You can find all predefined lookup files in the \lookups subfolder of the PRTG program directory. There are different types of lookups. You can only use one lookup type per lookup file.
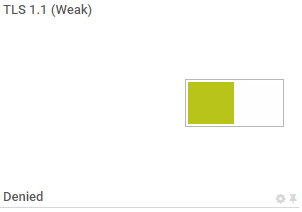
Lookups of the type Boolean are visualized as switches.
Lookups of the types SingleInt or Range are visualized as gauges.

Lookups of the type Bitfield are visualized as toggles.
You can set lookups only for sensors with custom channels. Take the following steps:
You can also modify standard lookup files to change existing definitions or to include new definitions. The following example shows the lookup file for the paper status of the sensor SNMP HP LaserJet Hardware.
If you do not want the sensor to show the Down status and send an alert if the printer is out of paper, for example, take the following steps:
with
5. Optionally replace the message Out of Paper or No Cassette Loaded with a custom text.
6. Make sure that you save the file as an .ovl
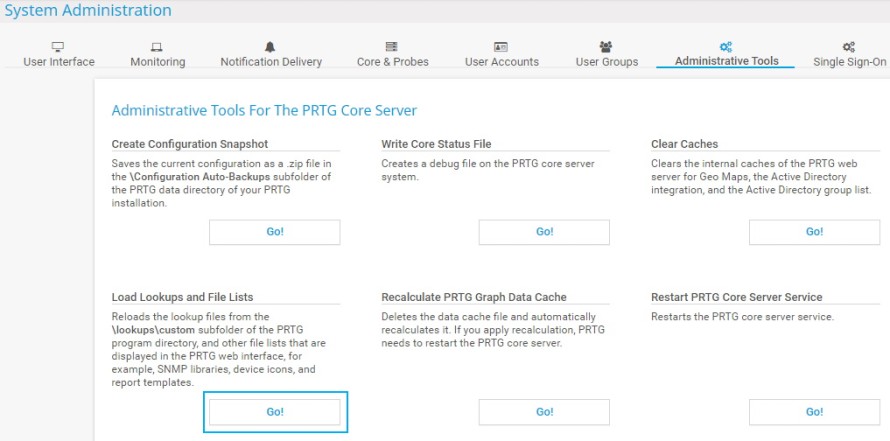
7. Log in to the PRTG web interface and select Setup | System Administration | Administrative Tools from the main menu.
8. Click Go! under Load Lookups and File Lists.
PRTG now reloads the lookup files and the gauge of the sensor’s Paper channel displays the new state and the new message.
Custom alerts and data visualization let you quickly identify and prevent all kinds of issues
It is also possible to create new lookups for any sensor that supports lookups. Use the XML schema provided in the PRTG Manual to create a lookup file from scratch, or copy and edit an existing lookup file and save it under a new name.
Save your custom files in the \lookups\custom subfolder of the PRTG program directory and do not forget to reload the files under Setup | System Administration | Administrative Tools.


