Monitorear a través de HTTP significa monitorear los datos que un dispositivo envía automáticamente a PRTG con la ayuda de diferentes sensores HTTP Push. Para monitorear push, se utilizan webhooks para enviar mensajes desde dispositivos con callbacks específicamente configurados a PRTG utilizando HTTP. Los webhooks son acciones desencadenadas por un evento que envían la información solicitada a una URL específica en tiempo real.
La tecnología push puede ser útil en diferentes casos:
Obtenga visibilidad total con paneles en tiempo real, alertas y sensores personalizables
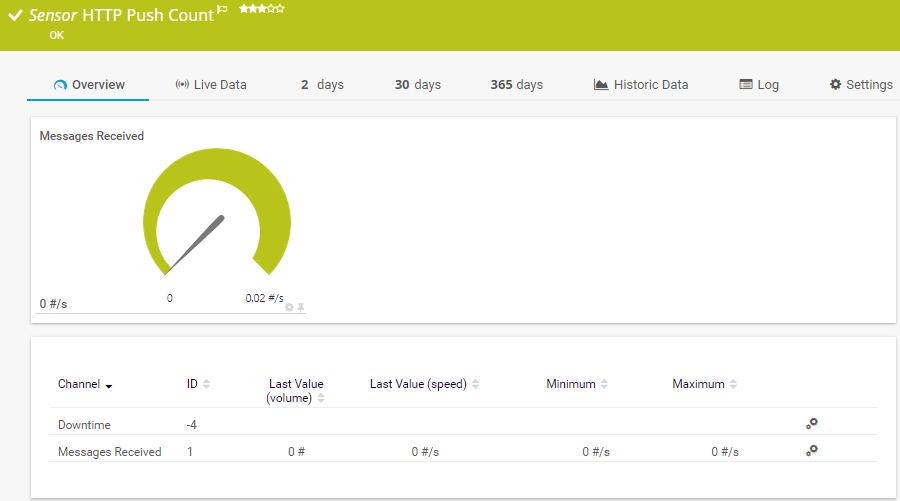
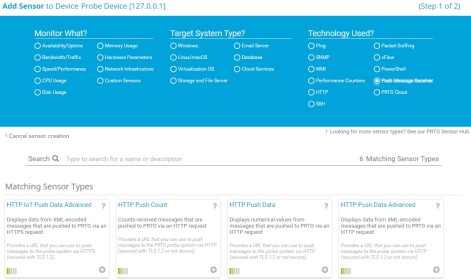
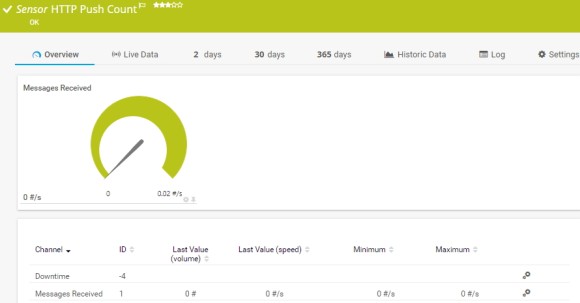
El sensor Recuento Push (HTTP) cuenta los mensajes recibidos que se envían a través de una solicitud HTTP a PRTG. Puede mostrar lo siguiente:
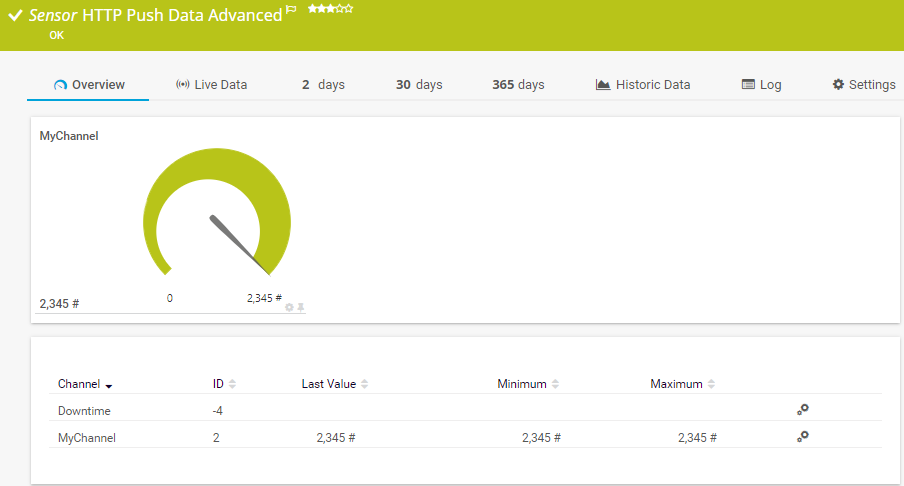
El sensor Datos push (HTTP) muestra valores numéricos de los mensajes recibidos que se envían a través de una solicitud HTTP a PRTG. Puede mostrar lo siguiente:
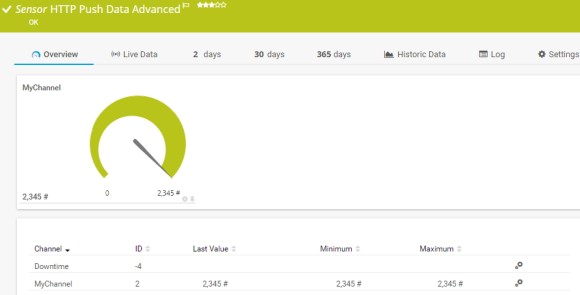
El sensor Datos push (avanzado) (HTTP) muestra los datos de los mensajes recibidos que se envían a través de una solicitud HTTP a PRTG. Puede mostrar lo siguiente:
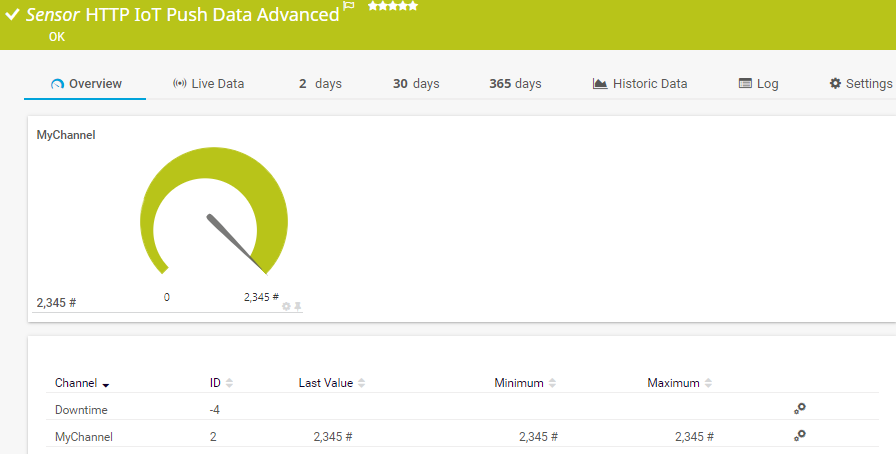
El sensor Datos push IoT (avanzado) (HTTP) muestra datos de mensajes que se reciben de dispositivos compatibles con Internet de las Cosas (IoT) y que se envían a través de una solicitud HTTPS a PRTG. Puede mostrar lo siguiente:
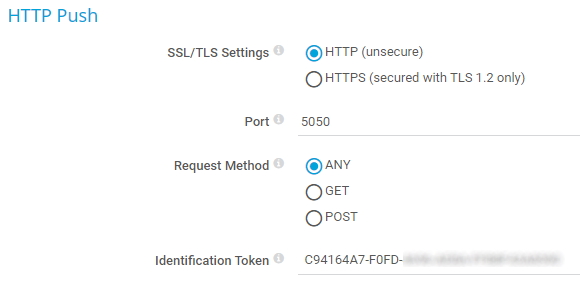
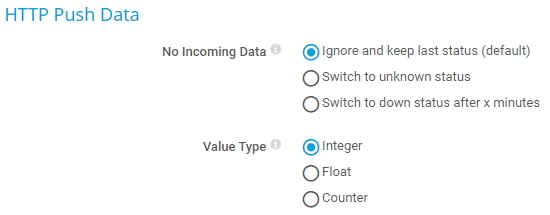
4. En la sección HTTP Push, defina las siguientes opciones:
Las alertas personalizadas y la visualización de datos le permiten identificar y prevenir rápidamente todo tipo de problemas
Para permitir que un dispositivo externo envíe mensajes push al sensor HTTP Push previsto en PRTG,
necesita proporcionar al dispositivo la URL que apunta al sensor correspondiente.
El sensor Recuento Push (HTTP) puede accederse a través de la siguiente URL:
http://<dirección_ip_de_sonda>:<número_de_puerto>/<identification_token>
Sustituya los parámetros por los siguientes valores:
Ejemplo URL: http://127.0.0.1:5050/XYZ-123
El sensor Datos push (HTTP) se puede acceder a través de la siguiente URL:
http://<probe_ip_address>:<port_number>/<identification_token>?value=<integer_or_float>&text=<text_message>
Sustituya los parámetros por los siguientes valores:
Ejemplo de URL: http://127.0.0.1:5050/XYZ-123 value=0&text=this%20is%20a%20sensor%20message

Los sensores Datos push (HTTP) y Datos push IoT (avanzado) (HTTP) pueden alcanzarse a través de las siguientes URL, dependiendo del tipo de solicitud HTTP:
Sustituya los parámetros por los siguientes valores:
Ejemplo mínimo de URL para una solicitud GET:
http://127.0.01:5050/XYZ-123?content=<prtg><result><channel>MyChannel</channel><value>10</value></result><text>this%20is%20a%20sensor%20message</text></prtg>.
Nota: Por defecto, los valores dentro de las etiquetas <value> deben ser enteros. Si su dispositivo externo devuelve valores flotantes, debe definir explícitamente este tipo de valor con etiquetas <float>. De lo contrario, el sensor mostrará valores 0 en los respectivos canales.
Ejemplo:
http://127.0.01:5050/XYZ-123?content=<prtg><result><channel>MyChannel</channel><value>10.45</value><float>1</float></result><text>this%20is%20a%20sensor%20message</text></prtg>.